Pressed Flower Art
Pressed flower art is a creative practice that involves preserving flowers and foliage by flattening them through the application of heat and pressure. This art form has roots dating back to ancient civilizations, where it was used for decorative purposes, as well as for medicinal documentation. Over the years, pressed flowers have been integrated into various forms of art, including greeting cards, framed pieces, and decorative wall hangings, making them a beloved medium among artists and hobbyists alike.
Among the diverse range of flowers used in this artistic endeavor, orchids stand out as a particularly popular choice. Their delicate beauty, intricate shapes, and vibrant colors lend themselves well to the pressing process. The wide variety of orchid species—with countless colors, patterns, and sizes—provides artists with ample options to explore their creativity. Orchids can evoke feelings of elegance and sophistication in artwork, further enhancing their desirability in pressed flower art.
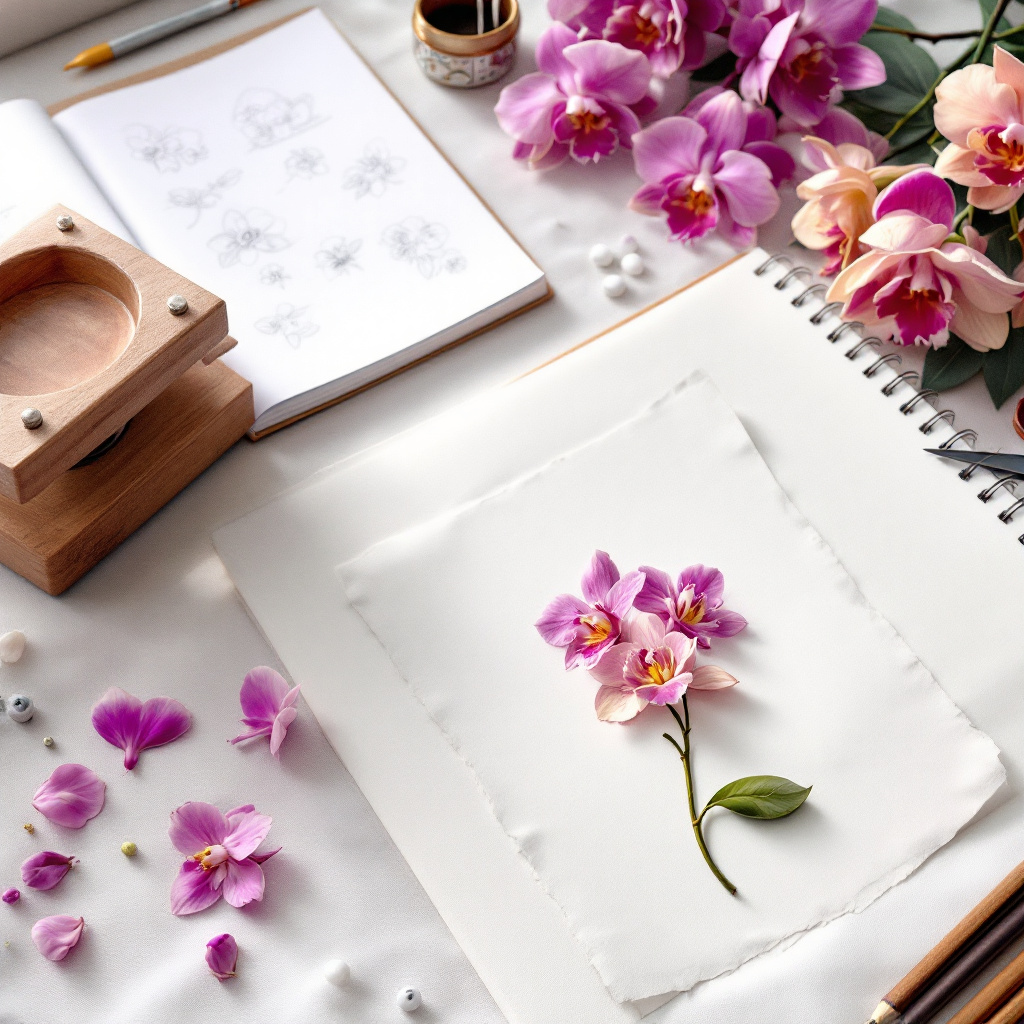
To embark on the journey of creating pressed flower art, a few essential tools and materials are required. These include fresh flowers (preferably collected at their peak blooming stage), a heavy book or a flower press, absorbent paper, scissors, and an optional desiccant like silica gel to expedite the drying process. It is also advisable to gather some adhesive materials, such as clear-drying glue or double-sided tape, to help affix the pressed flowers onto the desired background. With minimal supplies, the artistic possibilities are vast.
Whether you are looking to create unique gifts, home décor, or simply engage in a relaxing pastime, pressed flower art offers a wonderful avenue for self-expression. The process not only connects you with nature but also allows you to create lasting keepsakes that celebrate the beauty of the natural world. As we progress through this tutorial, you will gain a deeper understanding of the methods involved and be inspired to explore this enchanting artistic practice.
Collecting and Preparing Orchids for Pressing
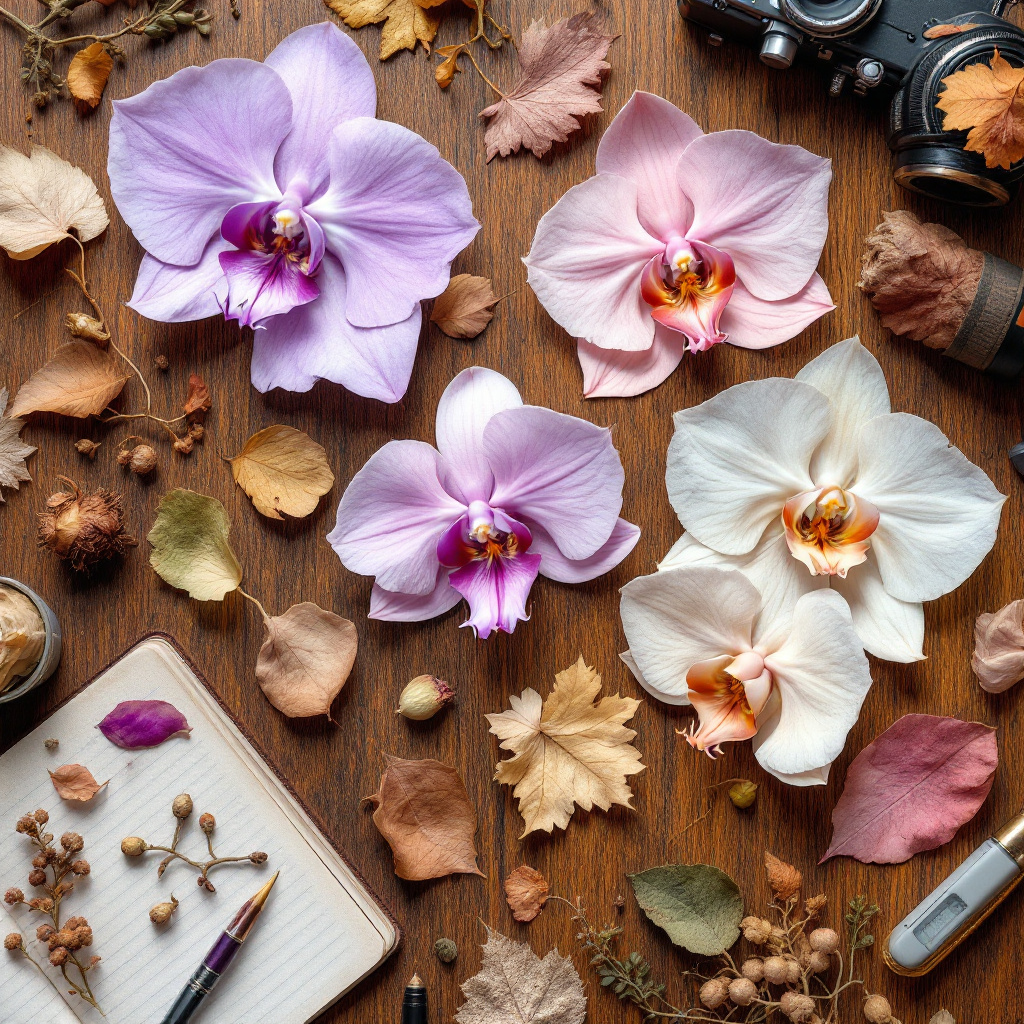
Collecting orchids for the purpose of pressing requires careful consideration regarding timing, selection, and preparation. The best time to gather orchids is during their peak bloom, typically in the early morning when the flowers are fully open and fresh dew is present. Early harvest ensures that the flowers maintain their vibrancy and natural texture, which are essential for creating beautiful pressed flower art.

When selecting orchids, it is crucial to aim for specimens that are not only in full bloom but also free from blemishes or damage. Look for flowers with well-defined petals and vibrant colors, as these attributes will enhance the overall appearance of the pressed artwork. Additionally, consider the type of orchid; varieties such as Phalaenopsis, Paphiopedilum, and Dendrobium are particularly popular choices due to their distinctive shapes and colors.
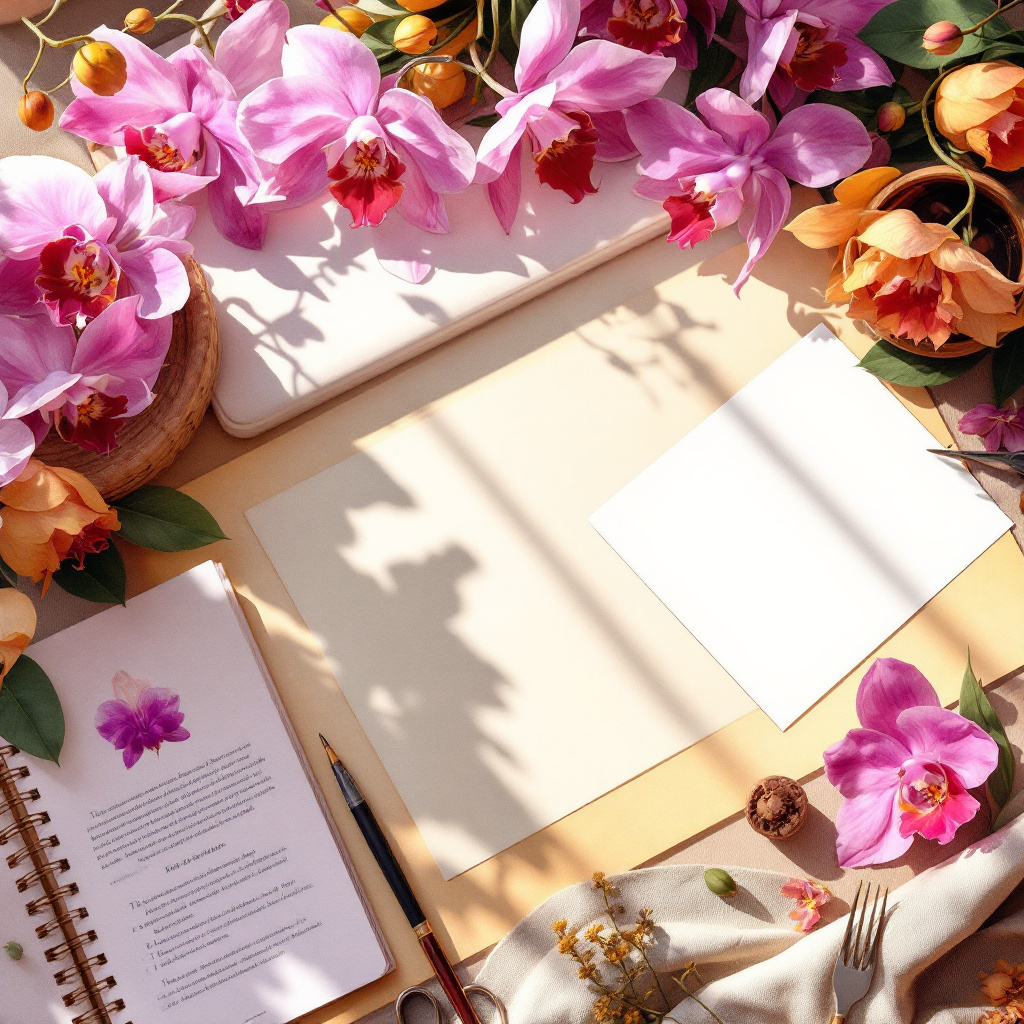
After collecting the flowers, proper care is essential to preserve their beauty. Place the orchids in a cool, dark location away from direct sunlight to prevent wilting. It is advisable to prepare the flowers for pressing as soon as possible; this can be accomplished by removing any extraneous leaves or stems that may inhibit the flattening process. To ensure optimal results, arrange the orchids between sheets of blotting paper or parchment. This will help absorb moisture and facilitate an even drying process.

When it comes to flattening the flowers, it is effective to use a heavy book or a flower press. The pressure applied should be sufficient to maintain the flower’s shape without causing damage. Allow the orchids to dry for a minimum of two to four weeks, checking periodically to ensure they are not becoming overly brittle or discolored. By following these guidelines, you will set a solid foundation for creating stunning pressed orchid flower art.
The Pressing Process: Techniques and Tips
Pressed flower art is a delightful way to preserve the beauty of nature, and the pressing process is a crucial step in achieving remarkable results. Various techniques can be employed to press flowers, each with its benefits and drawbacks. Understanding these methods will help you select the one that best suits your needs.
One of the most popular methods for pressing flowers is the use of a flower press. These presses consist of two flat surfaces and absorbent materials, such as cardboard or blotting paper, sandwiched between the surfaces. By tightening the screws on the press, you create even pressure, which aids in flattening and drying the flowers slowly, preserving their colors and shapes. The main advantage of this method is that it allows for consistent results and can accommodate multiple flowers at once.

In situations where a flower press is unavailable, using heavy books can be an effective alternative. Simply place the flowers between the pages of a thick book, ensuring they are spaced sufficiently to prevent sticking. While this method can yield good results, it may take longer for the flowers to dry compared to a dedicated flower press. Additionally, the risk of damage to the book’s pages must be considered.
For those seeking a quicker pressing solution, the microwave technique may appeal to you. This involves placing the flowers between two sheets of microwave-safe paper, arranging them in a single layer, and then microwaving them for short intervals. While this method can drastically reduce drying time, monitoring is essential to avoid overheating and browning the flowers.
Regardless of the method chosen, ensure that flowers are evenly spaced to maximize airflow and minimize moisture retention. Always be mindful of the recommended drying times for the particular flowers you are using, as this greatly influences the overall quality of your pressed flower art.
Creating Your Orchid Flower Artwork
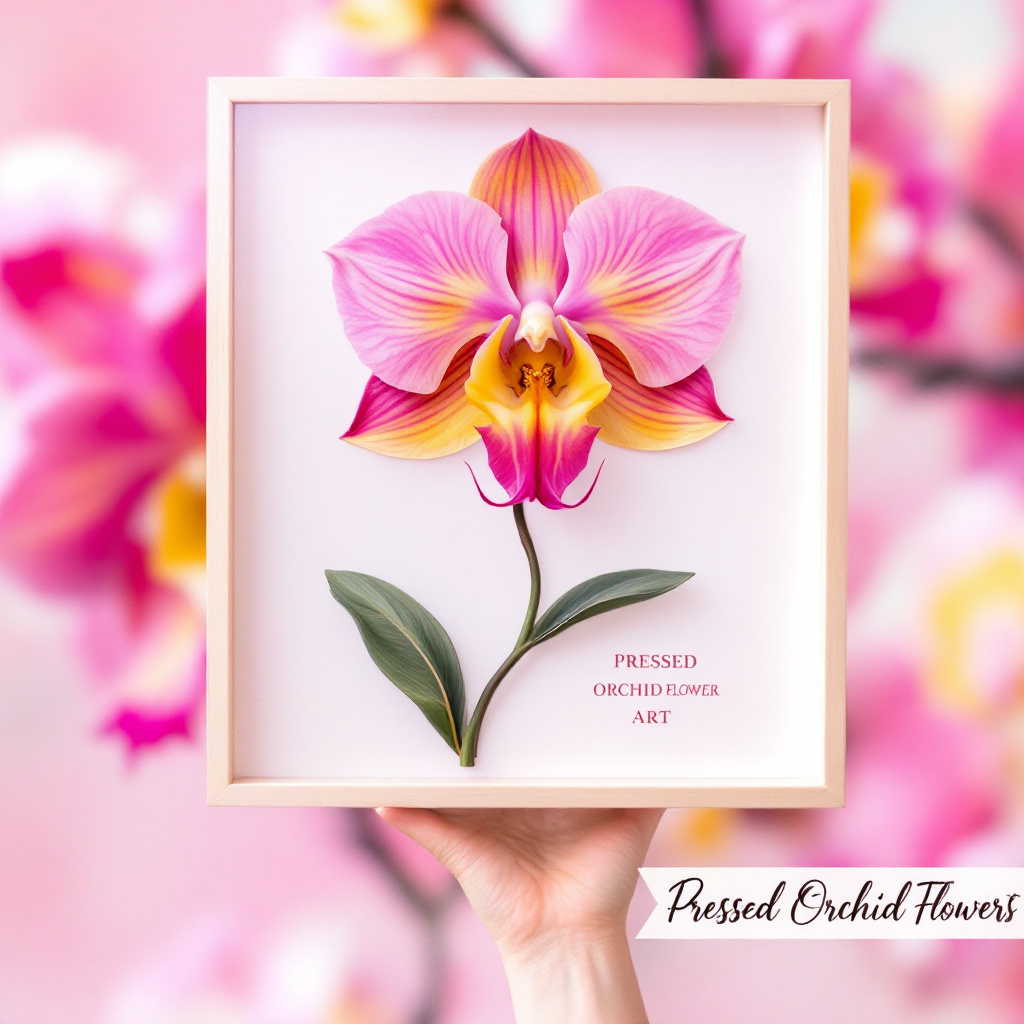
Once you have successfully pressed your orchid flowers, the next step is to incorporate them into beautiful art pieces. There are numerous ways to showcase your pressed orchids, each allowing for creativity and personal expression. One popular method is framing the orchids. Choose a frame that complements the colors and shapes of your pressed flowers. A thin, minimalist frame may enhance the delicate nature of the orchids, while a more ornate frame provides a contrast that can create visual interest. When framing, consider using acid-free materials to protect your artwork over time.

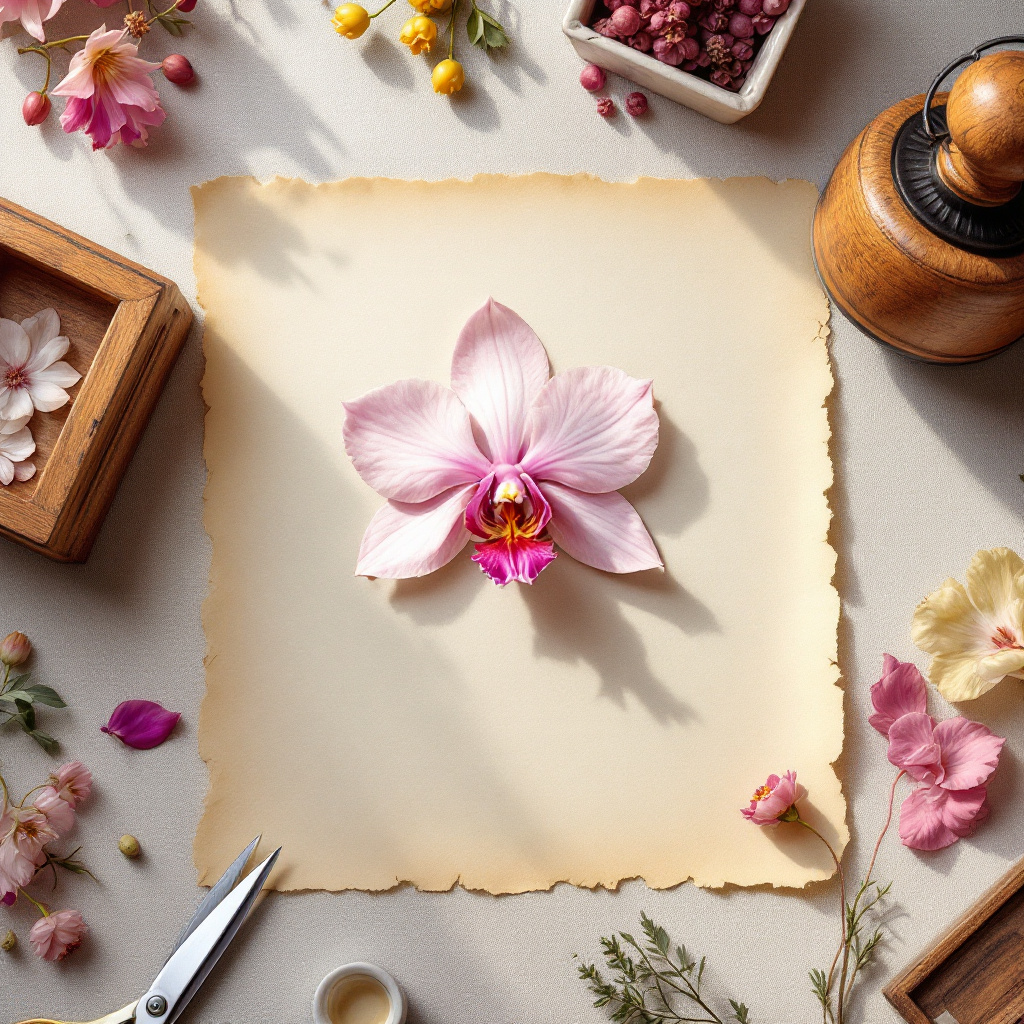
An alternative approach is to create greeting cards. This can be a fun and personalized way to share your pressed orchids with loved ones. Select a sturdy card stock and arrange your orchids in an aesthetically pleasing manner. You may want to use a strong adhesive to secure the flowers to prevent any peeling. Adding small embellishments, such as handwritten notes or decorative patterns, can further enhance your card’s appeal.
Another creative option involves decorating journals or notebooks. By adhering pressed orchids to the covers or within the pages, you can transform everyday items into unique, artistic expressions. Consider using a protective sealant to keep the orchids intact and weather-resistant. This ensures that your journal remains vibrant and beautiful over time.
When arranging your pressed flowers, think about their color, size, and shape. Combining various orchids in a thoughtful composition can create a dynamic and visually striking piece. Use complementary materials such as ribbon, washi tape, or even other dried flowers to add depth to your artwork. Remember, even as a beginner, the process is experimental; trust your instincts and enjoy the creative journey. Your pressed orchid flower art can indeed become a stunning display of nature’s beauty, reflecting your personal touch and artistic voice.